painted fireplace tile
August 31, 2020
Well hello hello! It’s been a white since I oiled my keyboard, so thought I would write about my top request of the summer!
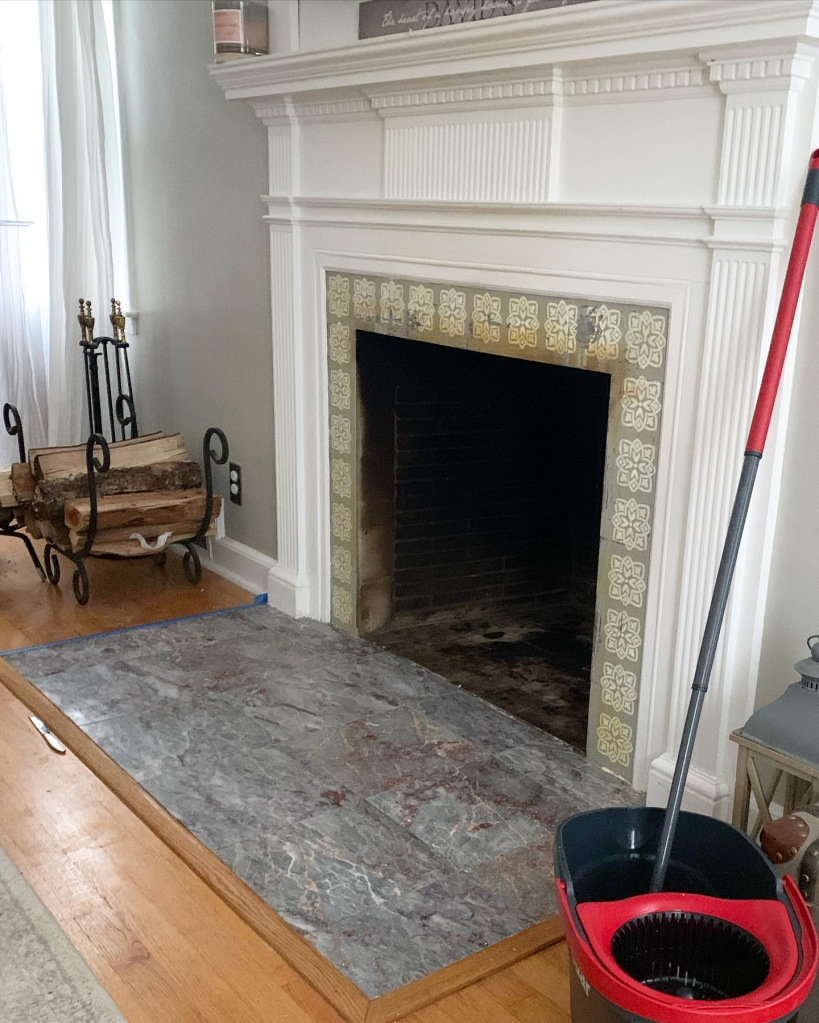
So, some of you may know that I originally did this previously and even wrote a blog post about it! That version, as mentioned in that blog post was a great quick fix! and that it was…. however for me being the ever optimist, hoping the scratched areas would stay small and not get bigger and bigger…. I was back to square one and I really needed to update my paint job!

I started out with researching the best “tile paint” (who knew there were such a thing!?) and the general consensus was that Rustoleum Home Floor Coating was the best reviewed by far.
So… I hopped to it and started my tile painting journey…again!
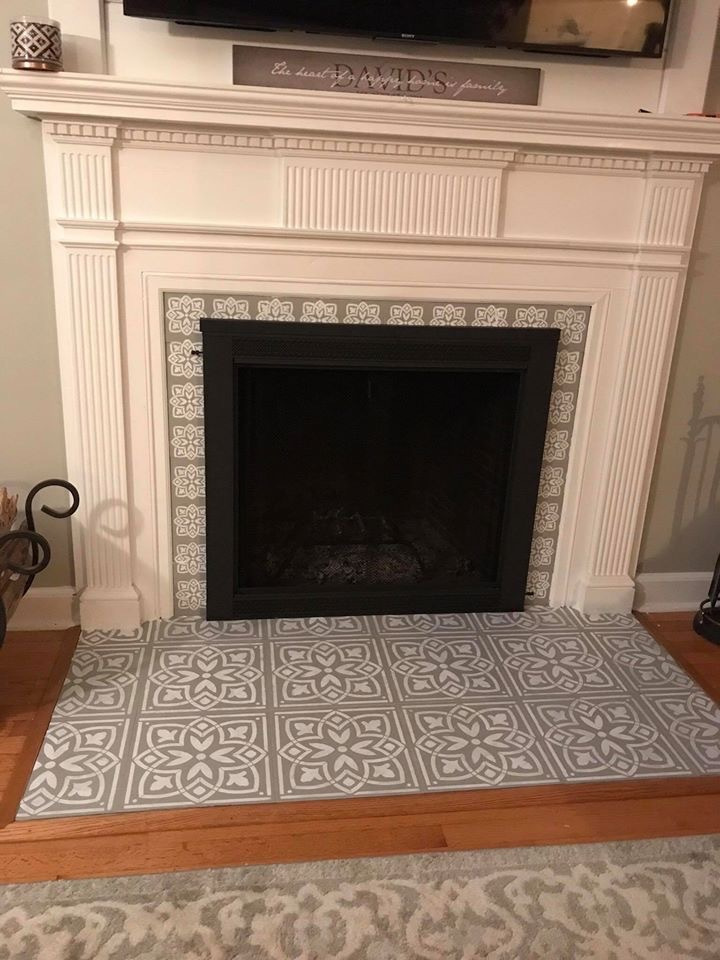
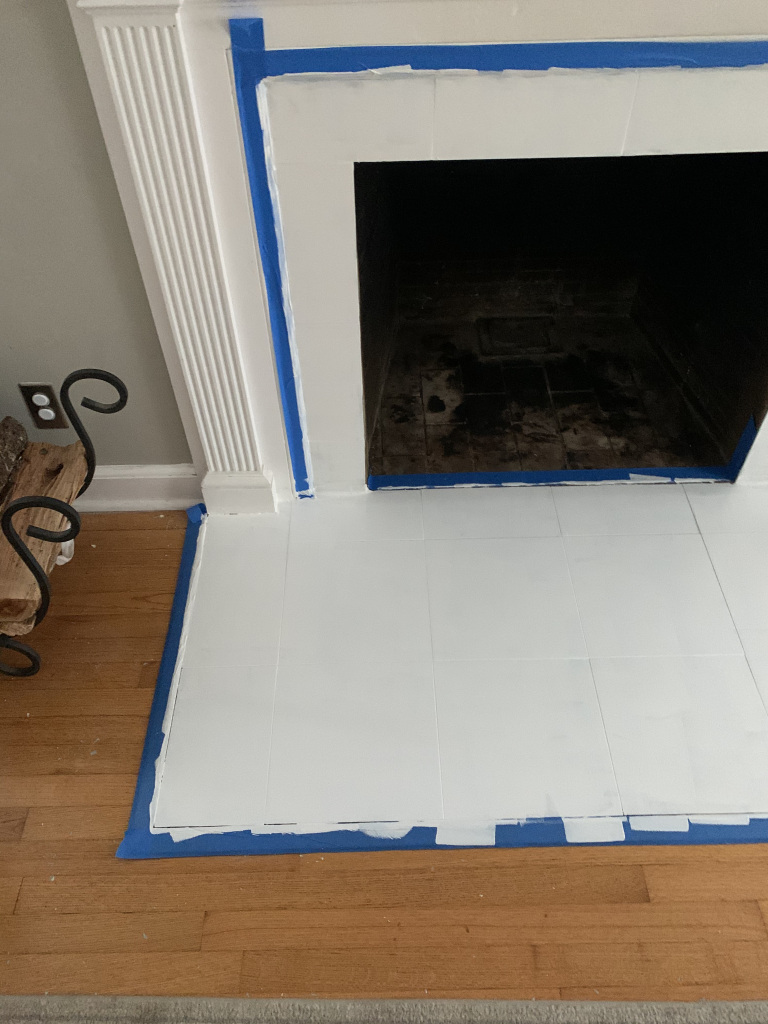
I purchased the “Kit” version with an additional Qt for the stencil color. I chose Ultra White as the base coat and then stenciled in with Dark Gray. The kit came with a cleaner which came in super handy, as this unintentionally helped me peel the existing paint job off!…. ta-dah!

So as you can see… I sanded and scraped off the paint on the bottom, as this is where the high foot traffic is, and where Wallace (Our huge 100lb golden doodle) likes to reside and chew on his bones! The outer areas I sanded down, and as this won’t ever really be touched, I saved my back and left as-is.
If you are starting from scratch and you don’t have to finagle scraping a mistake paint job, your process will start from here!

SO! Once you have your base coat down, you have to let it cure. This is a verrrry important step. Meaning, no tiny feet, big paws, crumbs or anything can touch that surface for 6 hours! and then you can go in with a second coat and that needs to set for another TWENTY FOUR HOURS! Maiya had just started to “run” her little tushy around the house at this point ….. so mid-quarantine, it proved a liiiiitle bit challenging!

After those 24 hours you can then, go in with your stencil!
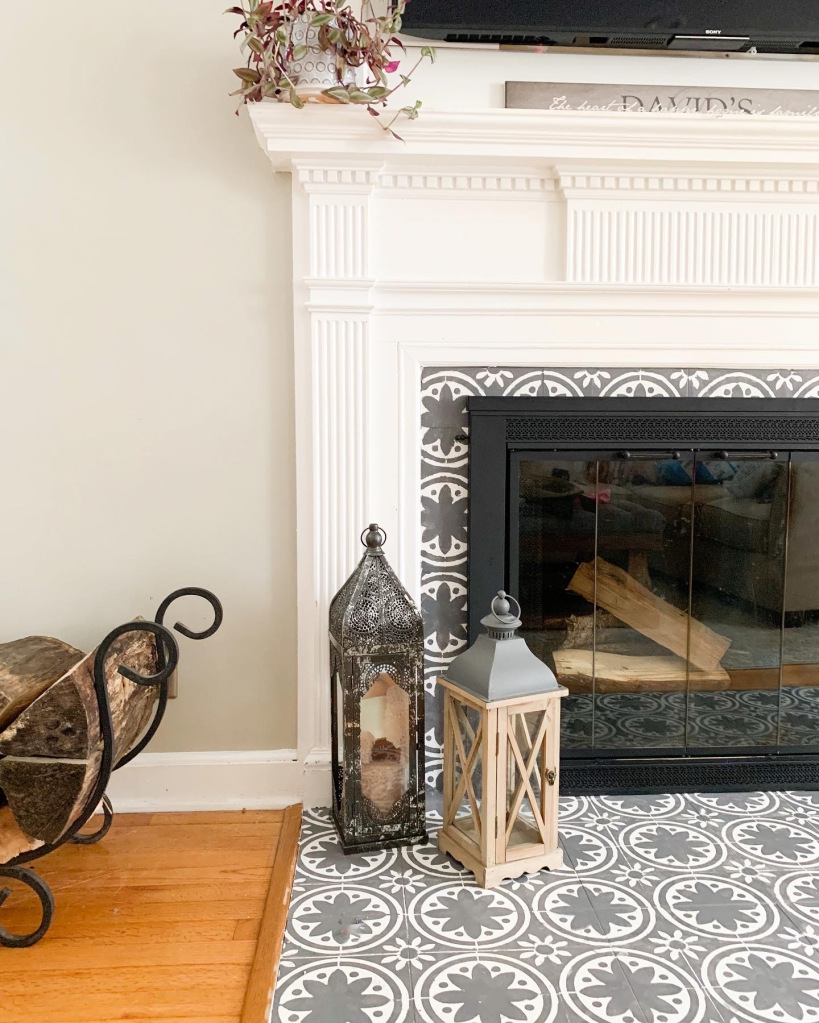
I purchased mine online and then got a stencil brush and I went to town! **TIP** Lay out the stencil to make sure it is symmetrical and will fit your fireplace first, and then make sure it lines up with the surround. Meaning… the top stencil lines up with the stencil on the hearth! I learnt… again… the hard way!
Once your stencil job has then cured for another 24 hours, you can then go in with your top coat! Before you do this, this is your golden opportunity to do any touch up work, which unless, you’re a stenciling pro, I’d recommend!
Once your top coat is set you’re good to go!
We have had this done since May and LOVE it! I can already notice the difference in durability!

Leave a Reply Cancel reply
Interior Design & Consulting
From connecticut, us.
a home
Making your house
© 2021 Ferns Nest | All Rights Reserved | Website Design by Moose Anchors